c.
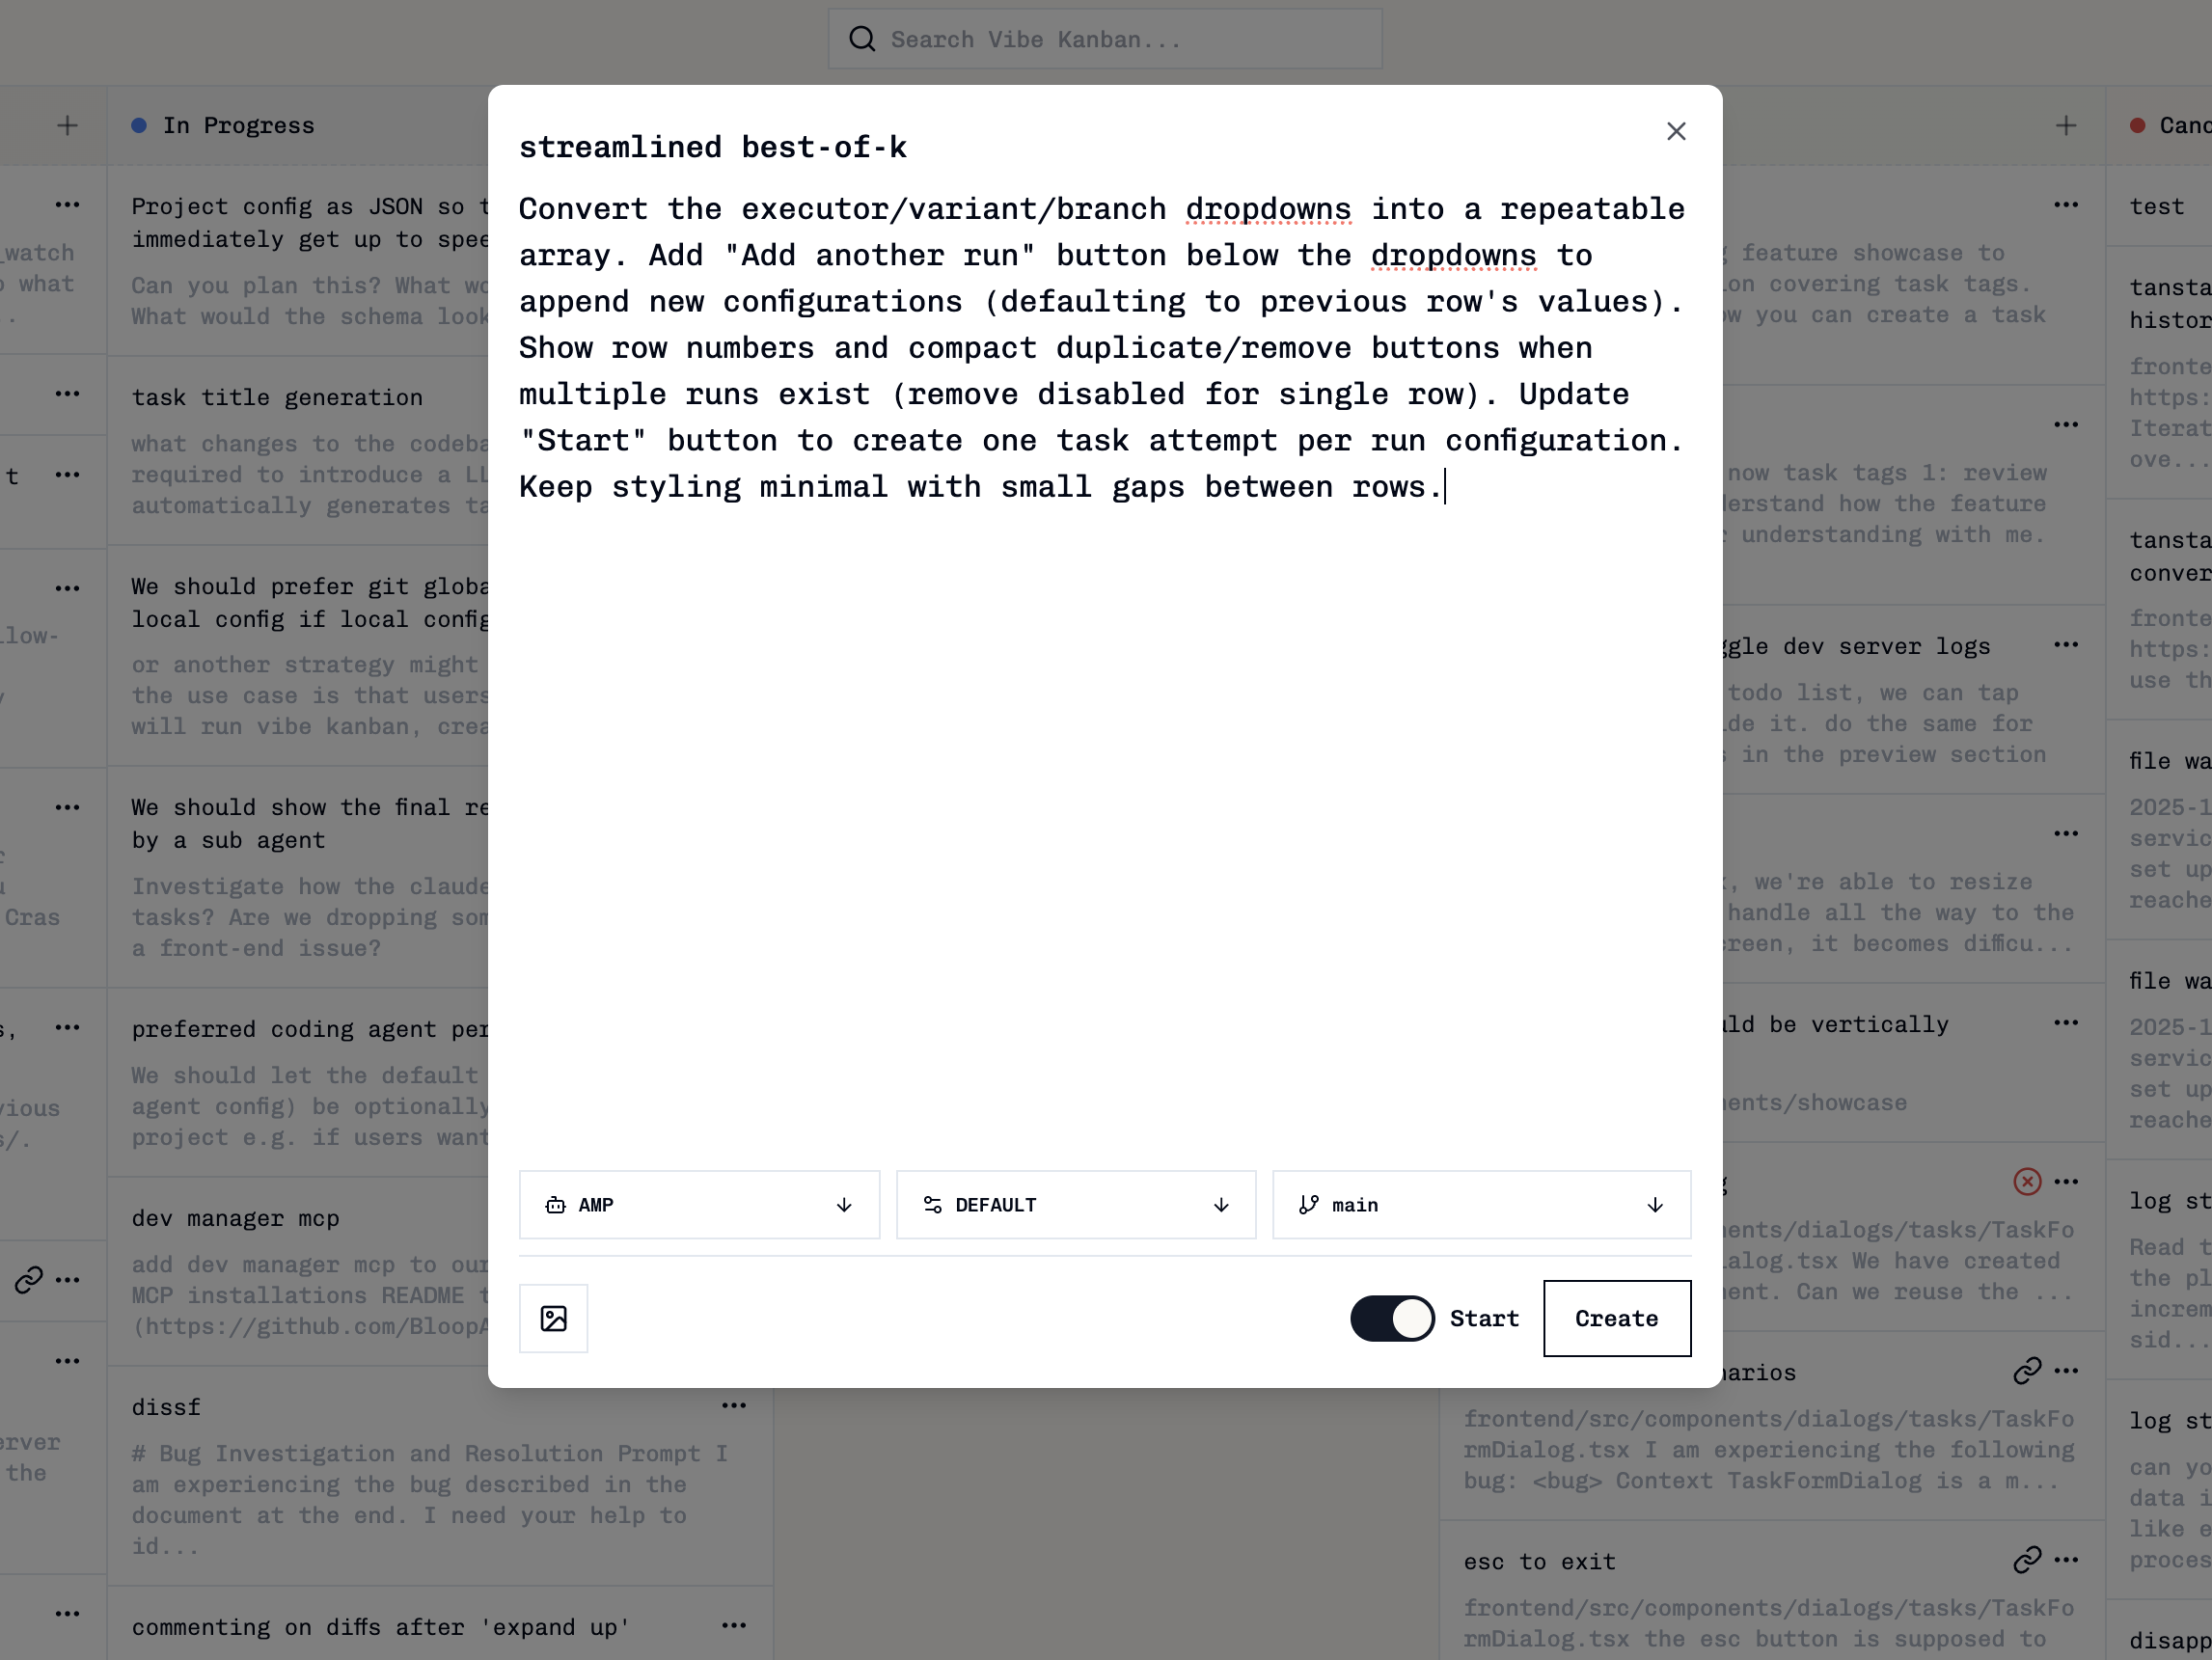
You have two options when creating a task:
- Create Task: Adds the task to your kanban board without starting a coding agent
- Create & Start: Creates the task and immediately starts it with your default coding agent and current branch
Using Task Tags
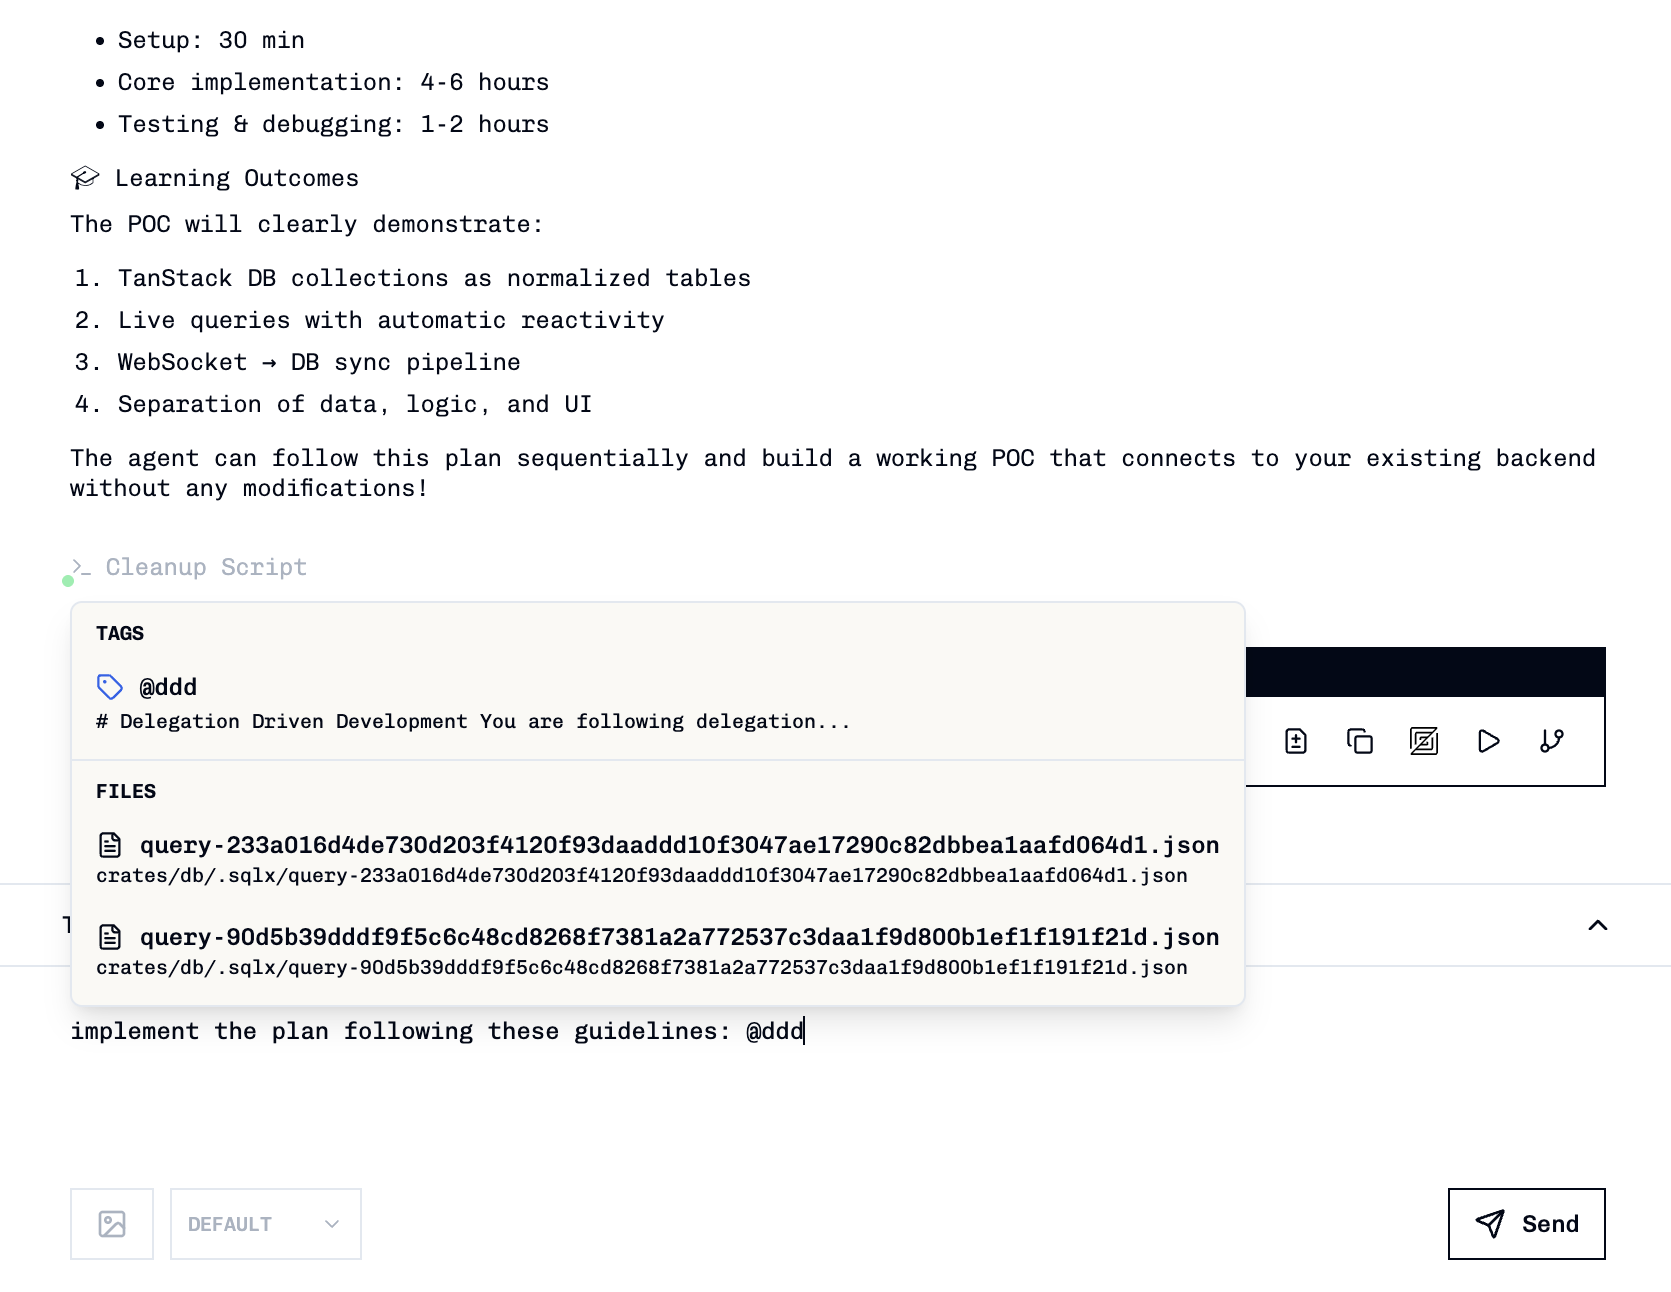
- Type
@in the task description or follow-up message - Start typing the tag name to filter available tags
- Select a tag from the dropdown to insert its content
Task tags save time by providing reusable text snippets for common task structures. Learn more in the Task Tags guide.
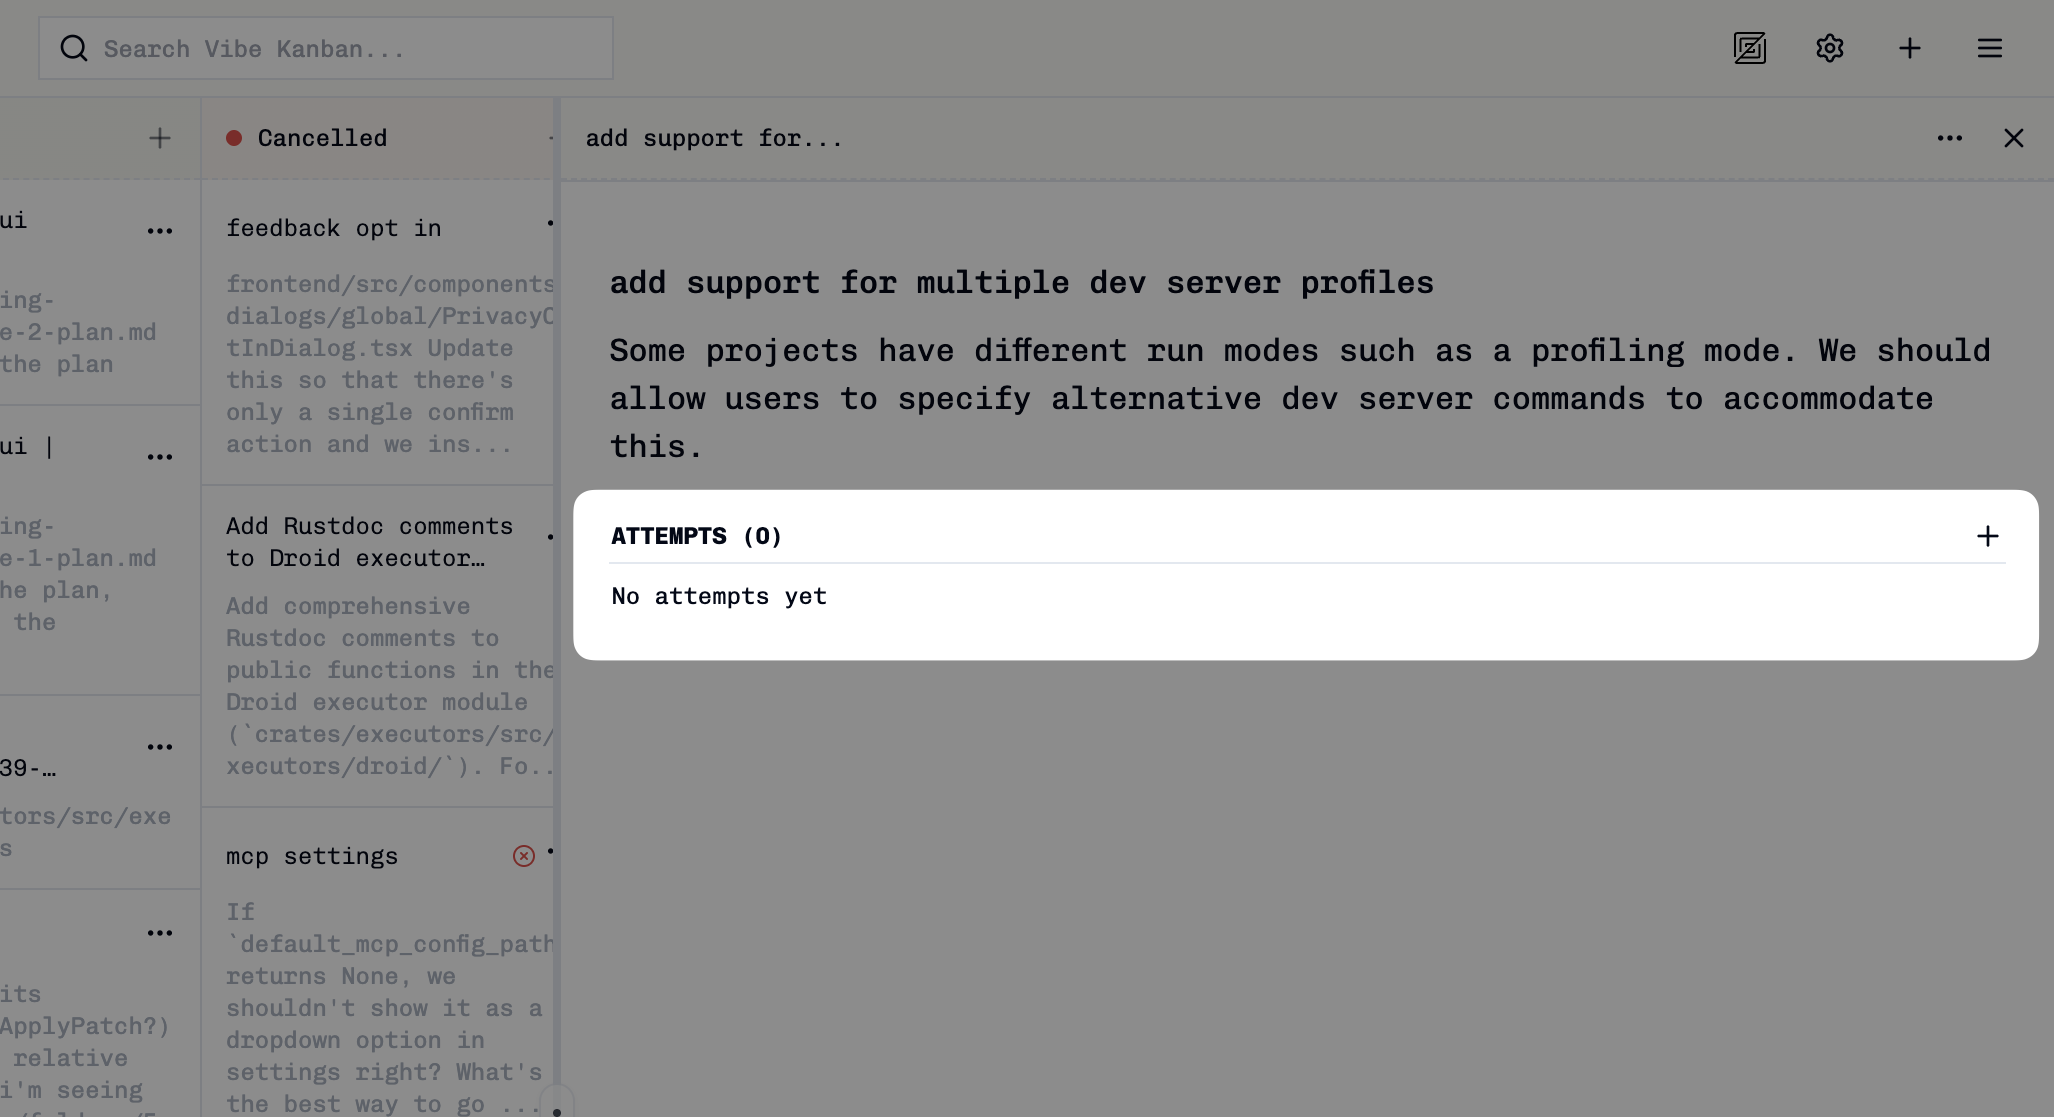
Starting an Existing Task
- Agent profile: Choose from available agents (e.g., CLAUDE_CODE, GEMINI, CODEX). Your default configuration from Settings is pre-selected.
- Variant: If your selected agent has variants, pick the appropriate one (e.g., DEFAULT, PLAN).
- Base branch: Specify which branch the agent should work from. Your current branch is selected by default.
To monitor your task as it executes, see Monitoring Task Execution. To understand when you might need multiple attempts, see New Task Attempts.
Creating Tasks via MCP Clients
Tasks can also be created programmatically using coding agents or MCP (Model Context Protocol) clients such as Claude Desktop or Raycast. This approach is particularly useful for:- Bulk task creation based on existing data or project specifications
- Migration from other systems like Linear, GitHub Issues, or Jira
- Automated task generation from project plans or requirements documents
Example MCP Task Creation
Once configured with an MCP client, you can create multiple tasks from a project description:Understanding Task Columns
Tasks begin in the “To do” column and move automatically based on their progress:| Action | Column |
|---|---|
| Task created | To do |
| Task attempt started | In Progress |
| Task attempt completed (success or failure) | In Review |
| Task attempt merged | Done |
| PR merged on GitHub | Done |
You can manually drag tasks between columns, but this won’t trigger any functionality. Task movement is primarily driven by coding agent actions and GitHub integration (which polls every 60 seconds).